As the seasons change, your air conditioner becomes a crucial component of maintaining indoor comfort. However, to ensure it operates efficiently, a little care and maintenance are essential. In this guide, we’ll explore the steps to clean your air conditioner and maximise its performance, helping you achieve a comfortable and healthy indoor environment.
Understanding How a Split System Reverse Cycle Air Conditioner Works
Before diving into cleaning, let’s briefly understand how a split system reverse cycle air conditioner operates:
- Indoor Unit (Evaporator): This unit contains the evaporator coil responsible for absorbing heat from indoor air and a fan to circulate the cooled air back into the room.
- Outdoor Unit (Condenser): The outdoor unit houses the condenser coil, which releases the absorbed heat outdoors, along with a fan to facilitate heat exchange.
- Refrigerant Circulation: A special refrigerant circulates through the system, efficiently absorbing and releasing heat to achieve cooling or heating.
- Cooling Mode: During cooling, the indoor unit’s evaporator coil cools the indoor air, which is then circulated back into the room.
- Heating Mode: In heating mode, the system reverses the refrigerant flow, allowing the outdoor unit to absorb heat from the outdoor air and transfer it indoors.
Reverse cycle air conditioners are efficient as they use the same components for both cooling and heating, simply by reversing the refrigerant flow.
Step-by-Step Guide to Clean Your Air Conditioner
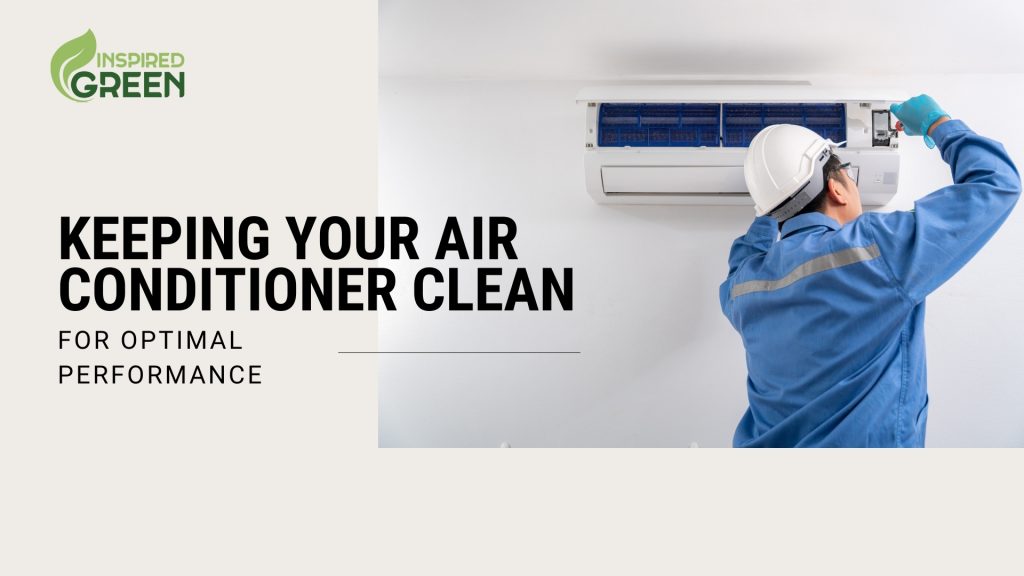
Cleaning your air conditioner is crucial for maintaining efficiency and extending its lifespan. Here’s a step-by-step process to help you clean your split system air conditioner:
Step 1: Turn Off the Power
Prioritize safety by switching off the power to the unit using the remote control or breaker at the electrical panel.
Step 2: Remove and Clean the Air Filter
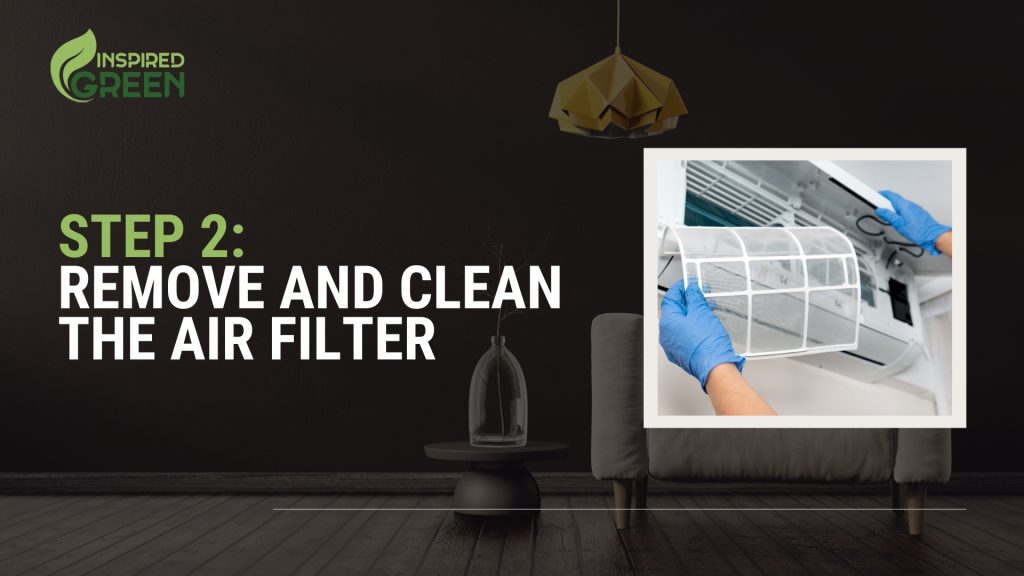
Locate and remove the air filter, either cleaning it (if reusable) or replacing it with a new one.
Step 3: Clean the Indoor Unit:
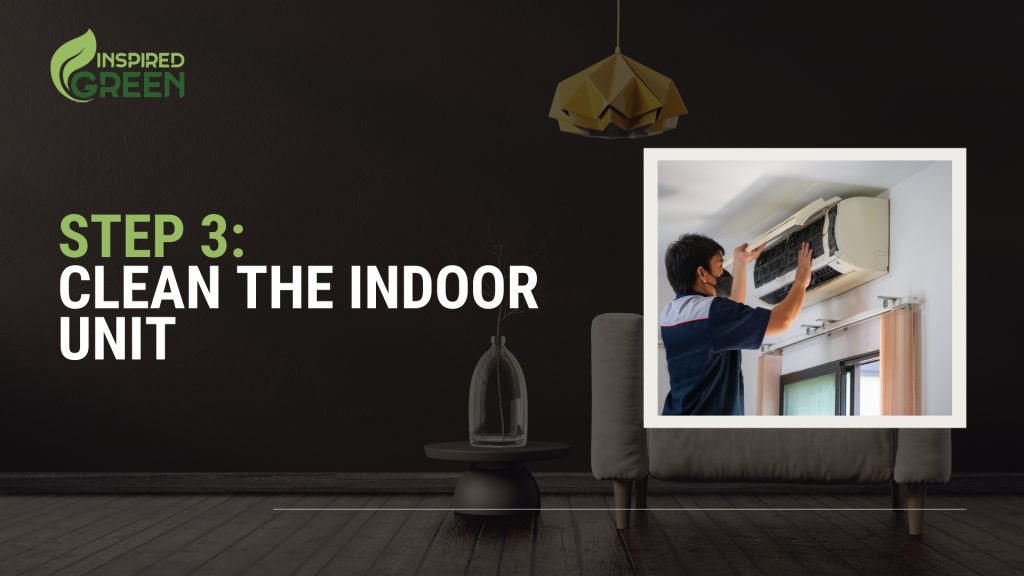
- Gently remove the front cover.
- Use a vacuum with a brush attachment to clean dust and debris from the fins and coils.
- Clean the drain pan and condensate drain to prevent clogs.
Step 4: Clean the Outdoor Unit:
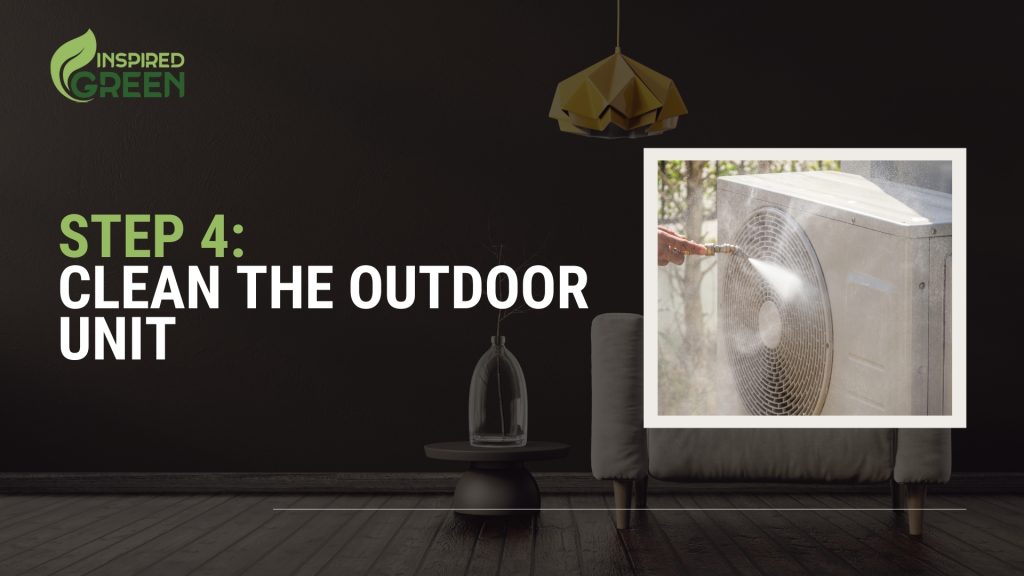
- Remove any visible debris like leaves or twigs.
- Spray the condenser coils with water to remove dirt and grime.
Step 5: Inspect and Tighten Electrical Connections
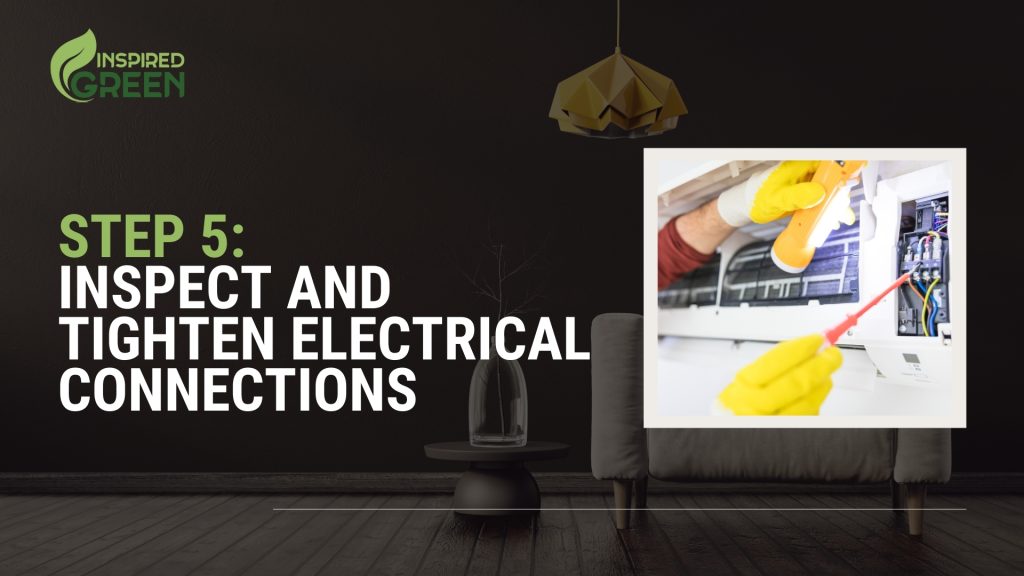
Check for loose connections and secure them for safety and proper functioning.
Step 6: Reassemble and Restore Power
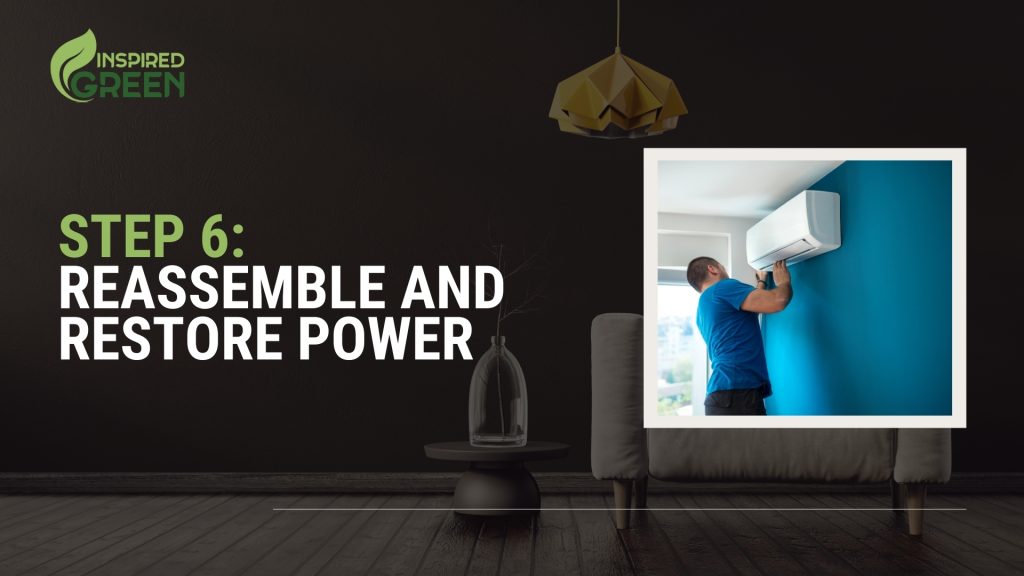
Put everything back in place, including the air filter, and restore power to the unit. Regular cleaning and maintenance ensure optimal performance and air quality, extending your air conditioner’s lifespan and reducing energy costs.
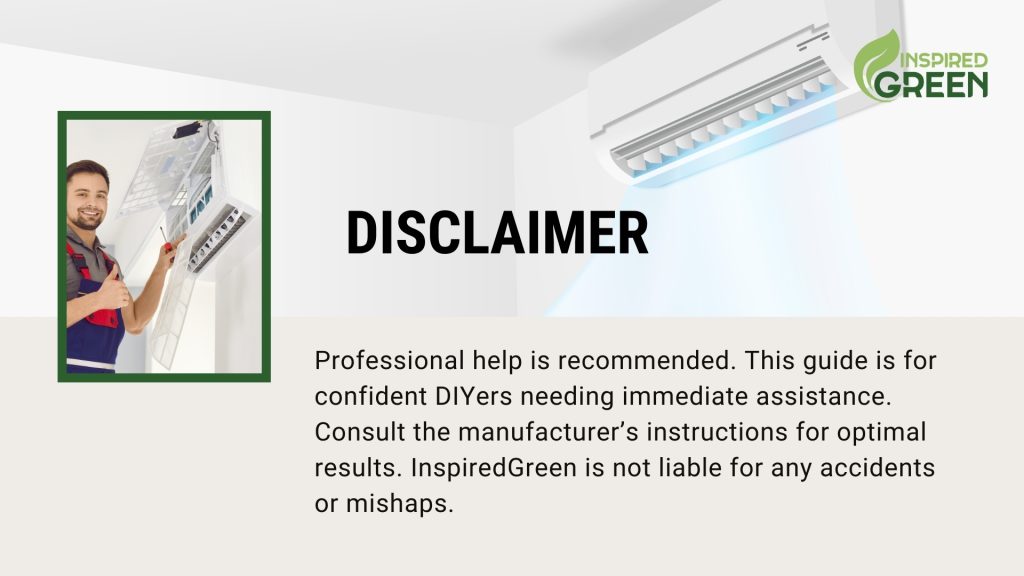
Disclaimer: Professional help is recommended. This guide is for confident DIYers needing immediate assistance. Consult the manufacturer’s instructions for optimal results. Inspired Green is not liable for any accidents or mishaps.
Safety Precautions for Air Conditioner Cleaning
- Always switch off the power before cleaning.
- Use protective gear like gloves and safety goggles.
- Work on a stable platform to avoid accidents.
- Handle chemicals with care and follow instructions.
- Consult a professional HVAC technician if unsure about any cleaning procedure.
Enjoy Cleaner and Efficient Cooling
By following these steps and scheduling routine maintenance, you’ll keep your air conditioner in top-notch condition, providing efficient cooling and heating year-round. Remember, a well-maintained air conditioner not only saves energy but also ensures a comfortable indoor environment for you and your family.
For professional air conditioning services and maintenance, contact Inspired Green. We’re here to help you achieve optimal comfort and efficiency with your air conditioning system.
Breathe easy and enjoy the cool, fresh air! Contact Inspired Green for air conditioning replacements and energy-efficient solutions!


